Figma is a fantastic tool. From ideation and discovery with Figjam, to handing off full fidelity UI and prototypes and the endless community library of plugins and files, it really is a tool for the entire product workflow. It is however a feature-packed tool and can seem overwhelming at the best of times, especially for new designers or designers switching from other tools. Getting to grips with a tool for the first time can be challenging, and not utilising its features efficiently can often slow your workflow down. Here are my top 3 tips to optimise your Figma workflow.
1. Figma organisation
Creating a sorted and organised Figma setup will help you enormously in your workflow and save you a lot of time as you get deeper into the design phase.
The layout of your file will vary depending on what you are working on but here are some general tips:
Organise pages into relevant sections
Start by creating separate pages in your file for different parts of the design phase. Not only will this aid your workflow as a designer, but anyone else who looks at your file be it a product manager or developer will be easily able to navigate through your file and understand where the relevant parts are.
You should generally use one file for one piece of work or one flow.
Every project is different, but a good example page layout might be:
- User research and discovery
- Ideation & Sandpit
- Prototype - Mobile
- Prototype - Desktop
- Developer hand off
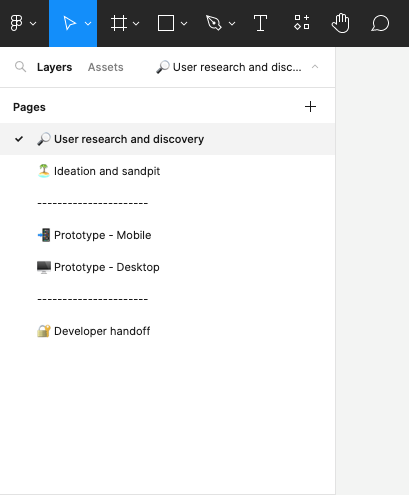
You should also separate mobile and desktop prototypes into separate pages in order to allow different device overlays in prototype mode. Another handy tip is also to add dividers and a unique emoji to each page.
If you are creating a UI kit or design system, you could do something similar but include pages for:
- Our principles
- Icons
- Typography
- Styles
- Components
- Patterns
Setting a thumbnail
No matter if you are working in a small or large team, setting an identifiable thumbnail will help you quickly identify files at a glance. Setting a different colour background can help distinguish between flows or areas in your product.
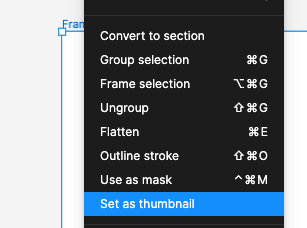
To create a thumbnail, simply create a frame (I usually make it 1920x1080), then right-click “set thumbnail”.
2. Utilise global paragraph, colour and effect styles
Using Figma’s built-in global styles functionality will help with consistency across your designs and library. Global styles allow you to set a preset for a certain attribute such as a colour and re-use this across multiple places in your file or even multiple files.
Global styles are available for:
- Text/typography
- Colours
- Effects - such as drop shadows and blurs
- Grid layouts
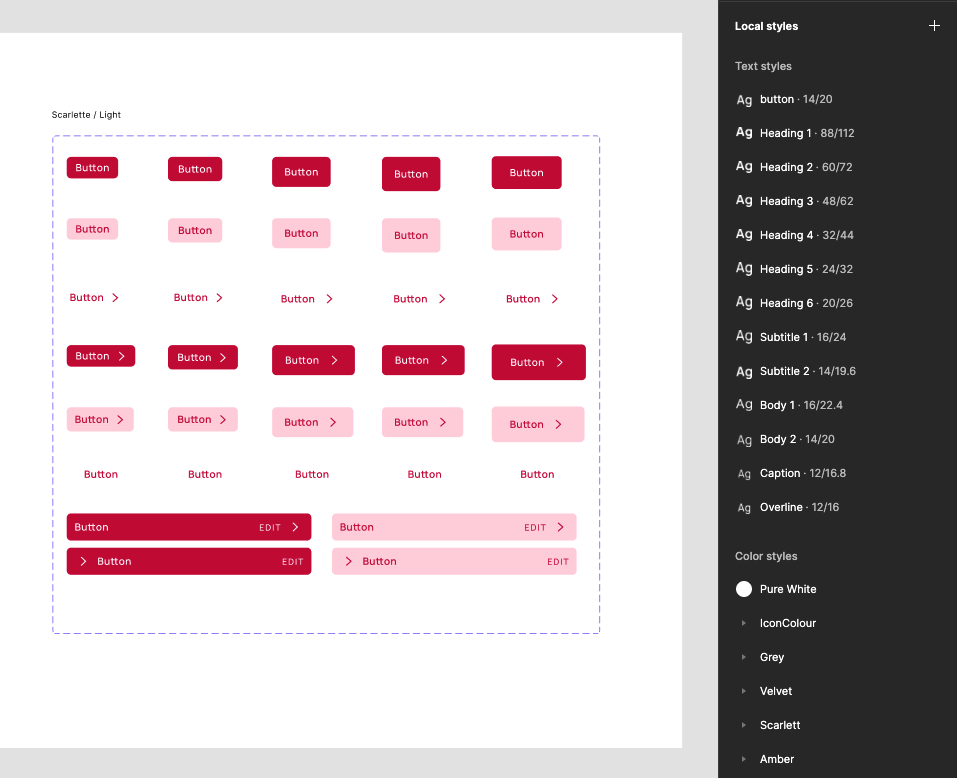
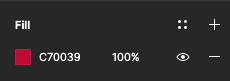
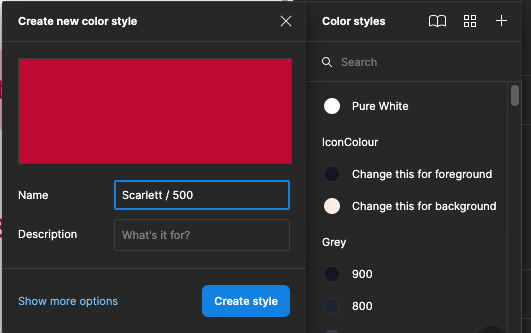
For example: To set a global colour style simply create and customise it, then select the 4 dots, then the “+” inside the colour styles window.
To learn about more global styles see here
Quick tip: You can also group styles by using “/”. For example, if you had 2 styles of Heading 1, when you name the file, name it “Heading 1 / Mobile” and “Heading 1 / Desktop”.
3. Learn and use AutoLayout on (almost) everything
AutoLayout is one of the best features in Figma, and if utilised effectively it can vastly improve your accuracy with spacings, layout and organisation of your files. Autolayout is added to frames to give pixel-perfect spacings, but it can seem daunting if you're used to dragging elements perfectly into place.
AutoLayout is based on the CSS Grid and has brought this to the design world. The properties of AutoLayout include:
- Fill Container - This allows the frames to fill the space been the elements inside them, these can be packed or spaced out and the space can be adjusted in the sidebar.
- Hug Contents - This allows frames to adjust to the width of the content that is inside them. This is particularly useful when creating buttons so that the space surrounding the button stays the same but the actual width changes, based on the label. See the example below.
- Fixed width - This allows you to customise the width of a frame.
There are instances however where Autolayout may not work, you’ll come across these in your journey so make a call when you do.
You can read more about how Autolayout works and further examples here.

4. Use components, variants and properties for reusable aspects of your design
Utilising Figma's components, variants and properties feature is also an excellent way of speeding up your workflow.
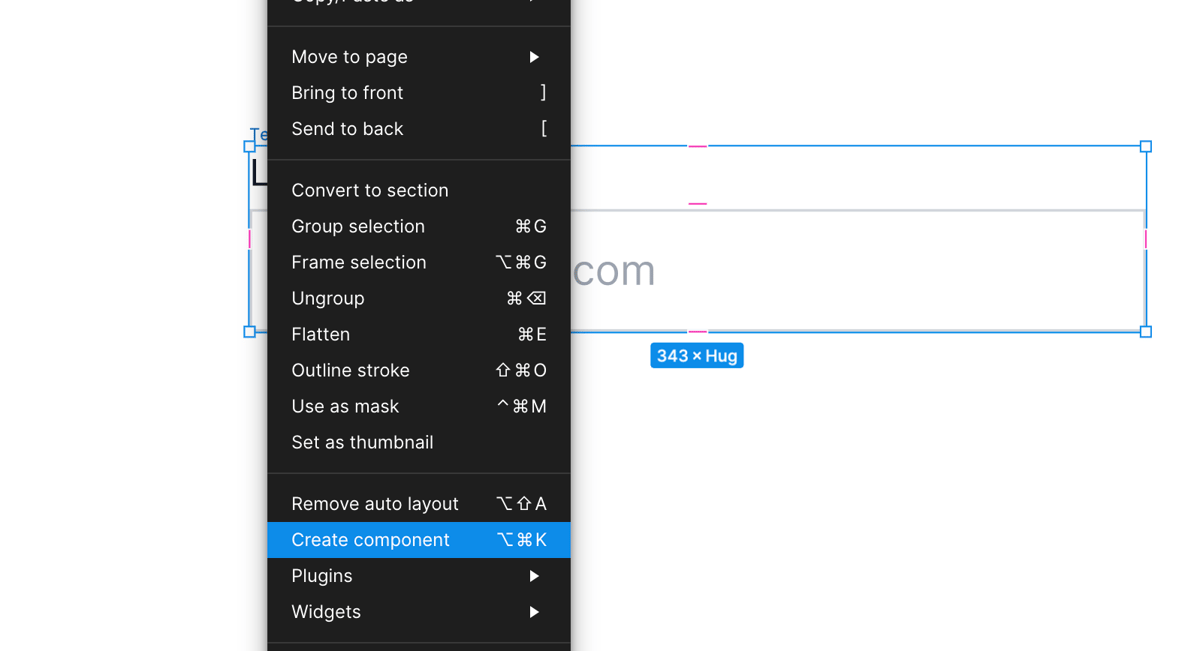
Start by creating the component itself. Take for example a text input, which can be used in a multitude of places across an interface. Start by creating the asset, then right-click "Create component".
Once this has been created, any copy of this component can now be used anywhere else in your file. Similarly, any change that you make to the "parent" component, ie. the first version you created, will reflect in the subsequent children you have used across your file.
Say for example you need different states for your text input, default, focus, error etc. This can be achieved by using the Variants feature in Figma. Simply create the required versions you need, highlight them all, turn them into components as per above, then click "Combine as variants" in the right sidebar.
5. When prototyping, use "Open Overlay" for reusable popups and modals.
Prototyping in Figma can be a long and time-consuming process, especially with more complex and repeating interactions. Fortunately, the "Open Overlay" option in the prototyping dialogue takes a lot of the leg work out of this.
The "Open Overlay" essentially turns a frame into a popup or modal and removes the need to duplicate an entire screen.

To turn a frame into an overlay, simply link the action that you want to trigger and select "Open Overlay" from the prototype panel. From here you can also customise the position and animation style of how it moves in.
This method can scale to other forms of interactions such as dropdowns, and other inputs.
Need help sorting your Figma file or design system? Book a 1:1 session with me! 🚀